

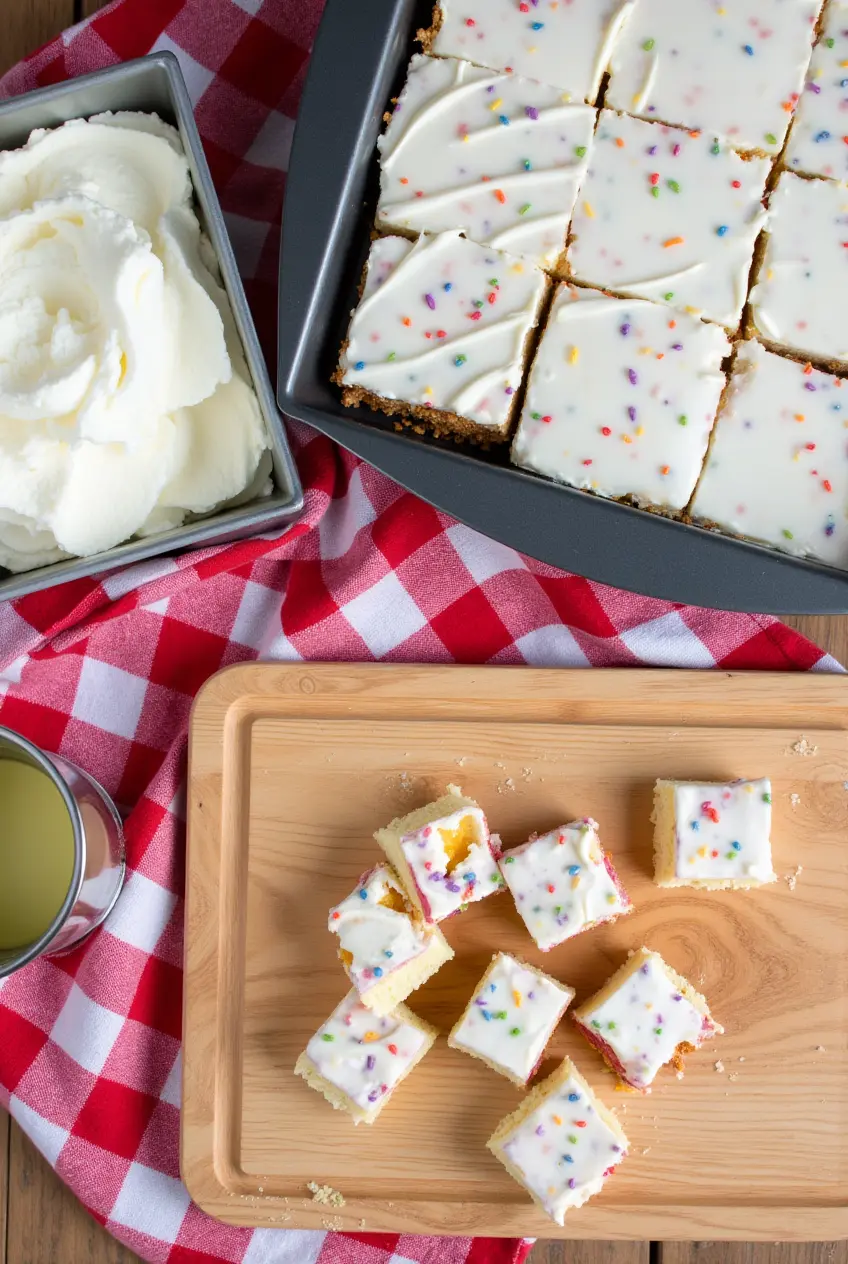
Ice cream and birthday cake are two of the most loved desserts in the world. But what if you could combine them into one irresistibly creamy and flavorful treat? Birthday Cake Ice Cream is the perfect way to enjoy both in every bite. Whether you’re celebrating a special occasion or just craving a nostalgic, fun dessert, this homemade recipe will help you create the best Birthday Cake Ice Cream right in your own kitchen. Let’s dive in!
Ingredients List
For the Ice Cream Base:

- 2 cups heavy cream (for a rich and creamy texture)
- 1 cup whole milk (can be substituted with almond or oat milk)
- ¾ cup granulated sugar (for sweetness and balance)
- 1 tablespoon vanilla extract (enhances the cake flavor)
- 1 teaspoon butter extract (optional, but adds an authentic cake-like taste)
- 4 large egg yolks (helps create a smooth and creamy consistency)
For the Birthday Cake Flavor:
- 1 cup yellow or vanilla cake mix (to capture the classic birthday cake taste)
- ½ cup rainbow sprinkles (for a festive, colorful touch)
- 1 cup crushed cake pieces (can be homemade or store-bought cake)
Timing
- Prep Time: 20 minutes
- Chilling Time: 2-3 hours
- Churning Time: 20-25 minutes
- Freezing Time: 3-4 hours
- Total Time: ~6-7 hours
Step-by-Step Instructions
Step 1: Prepare the Ice Cream Base
In a saucepan over medium heat, whisk together heavy cream, whole milk, and sugar until the sugar dissolves completely.
Step 2: Temper the Egg Yolks
In a separate bowl, whisk the egg yolks. Slowly pour a small amount of the warm milk mixture into the yolks while whisking constantly to prevent curdling.
Step 3: Cook the Base
Pour the yolk mixture back into the saucepan. Cook over low heat, stirring constantly, until the mixture thickens slightly and coats the back of a spoon (about 5 minutes).
Step 4: Add Flavoring & Chill
Remove from heat and stir in vanilla extract, butter extract, and cake mix. Let the mixture cool completely, then refrigerate for at least 2-3 hours.
Step 5: Churn the Ice Cream
Pour the chilled mixture into an ice cream maker and churn for 20-25 minutes, or until it reaches a soft-serve consistency.
Step 6: Add Mix-Ins
Gently fold in rainbow sprinkles and crushed cake pieces.
Step 7: Freeze and Serve
Transfer the ice cream to an airtight container and freeze for 3-4 hours until firm. Scoop and enjoy!
Nutritional Information (Per Serving)
- Calories: 310 kcal
- Carbohydrates: 38g
- Protein: 4g
- Fat: 16g
- Saturated Fat: 10g
- Sugar: 30g
Healthier Alternatives for the Recipe
- Use Greek yogurt instead of heavy cream for a lighter version.
- Reduce sugar and use honey or maple syrup as a natural sweetener.
- Opt for almond or oat milk for a dairy-free option.
Serving Suggestions
- Top with extra sprinkles for a festive touch.
- Drizzle with chocolate or caramel sauce for added flavor.
- Serve in a waffle cone or a bowl alongside a slice of birthday cake.
Common Mistakes to Avoid
- Skipping the chilling step – Ensures proper ice cream consistency.
- Overmixing the sprinkles – Can cause colors to bleed into the ice cream.
- Not tempering the eggs correctly – Prevents scrambled egg texture.
Storing Tips for the Recipe
- Store in an airtight container to prevent freezer burn.
- Use parchment paper on top of the ice cream before sealing the lid to maintain freshness.
- Consume within 2 weeks for the best flavor and texture.
Conclusion
Making homemade Birthday Cake Ice Cream is easier than you think! With a few simple ingredients and the right technique, you can create a creamy, flavorful treat perfect for any celebration. Give this recipe a try and let us know how it turned out in the comments below. Don’t forget to subscribe for more delicious recipes!
FAQs
1. Can I make this without an ice cream maker?
Yes! Freeze the mixture in a shallow dish and stir every 30 minutes for 3-4 hours to create a creamy texture.
2. Can I use boxed cake instead of cake mix?
Yes, simply bake the cake, crumble it, and mix it in at the end.
3. How do I make this vegan?
Use coconut milk, dairy-free cake mix, and a vegan egg substitute.
4. Can I use different flavors?
Absolutely! Try chocolate cake mix or strawberry cake mix for a unique twist.
Enjoy making your own Birthday Cake Ice Cream and share your creations with us! 🍦🎂
Essential Tools and Materials for Making Birthday Cake Ice Cream
To create the perfect Birthday Cake Ice Cream, you’ll need the right tools and materials to ensure a smooth and hassle-free process. Here are the essentials:
- Ice Cream Maker – Helps churn the mixture into a creamy, smooth texture. Get Yours Now!
- Mixing Bowls – Used to combine and mix ingredients properly. Shop Mixing Bowls Here!
- Whisk – Essential for blending egg yolks, sugar, and other ingredients evenly. Buy a Quality Whisk!
- Saucepan – Used to heat the cream mixture and temper the eggs. Take Yours Today!
- Airtight Container – Keeps the ice cream fresh and prevents freezer burn. Order an Airtight Container Now!
- Rainbow Sprinkles – Adds a fun, colorful, and festive touch to the ice cream. Get Your Sprinkles Here!
With these tools and materials, you’ll be fully equipped to make Birthday Cake Ice Cream that’s creamy, delicious, and packed with festive flavor. 🎂🍦 Shop now and start churning your dream dessert!


